REVIEW · CYCLING TOURS
E-Bike Guided Tour – West Side Mountain Biking
Book on GetYourGuide →Operated by E-Bike Madeira Lda. · Bookable on GetYourGuide
Starting Madeira’s west trails on an E-bike feels like cheating. You get 80% off-road fun, serious views over the North Atlantic, and a ride that works for first-timers and hard-chargers. The route is built around climbing up high (Fonte do Bispo at about 1241m) and then rewarding you with a long downhill flow toward the island’s western edge. One clear plus is the guided setup plus provided gear, so you can focus on riding, not logistics.
I also like how the trip mixes trail choices early on: you can go for dirt/gravel roads or opt for singletrack-style riding in the first part. That means you’re not locked into one type of terrain if your comfort level changes. The main consideration: conditions can shift the feel of the ride. In wet weather, the trail can become more demanding than expected, so if you’re a beginner, ask for how they’ll adapt pacing and instruction.
In This Review
- Key Things to Know Before You Go
- Why the West Side + E-Bikes Makes Sense on Madeira
- From the Shop to Fonte do Bispo: the Ride Starts with a Van
- The First Trail Stretch: Views, Trail Choice, and Real Madeira Terrain
- The Run Toward Ponta do Pargo: Big Cliff Country and a Real Landmark
- Calheta Break + Lunch: a Reset in the Middle or End
- Your Role on the Bike: Difficulty, Rain, and Comfort
- Included Gear and What You Still Need to Bring
- Pace, Group Size, and Guide Support in a Small Setting
- Price and Value: What $159 Buys You Here
- Who Should Book This Ride (and Who Should Skip It)
- Should You Book E-Bike Guided Tour: West Side Mountain Biking?
- FAQ
- What’s the duration of the West Side Mountain Biking e-bike tour?
- Where do I meet, and what time does the tour start?
- How far and how off-road is the route?
- Is lunch included?
- What’s included in the price?
- How many people are in the group, and what languages are offered?
Key Things to Know Before You Go
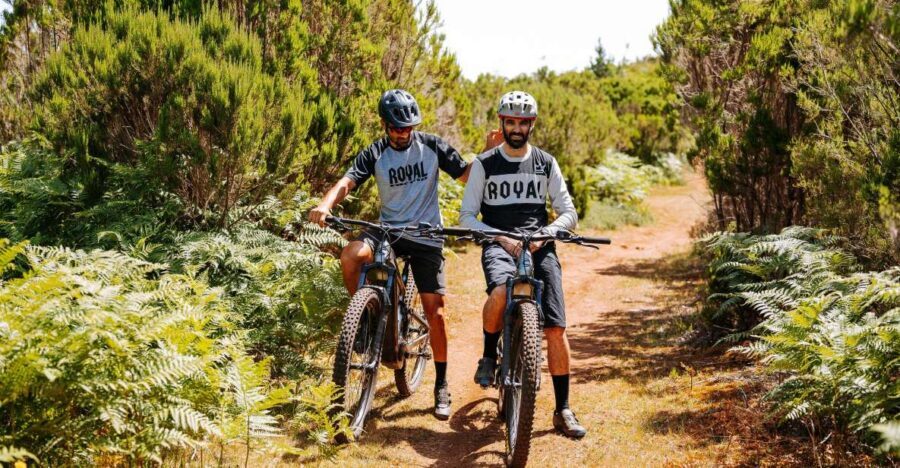
- 80% off-road riding, with a mix of dirt/gravel and more technical singletrack options
- Fonte do Bispo (around 1241m) start: you’ll begin high, then build into big views
- Ponta do Pargo lighthouse stop on the island’s westernmost tip, inaugurated in 1922
- Long descent (listed around 1317m) means the ride is about control and fun, not just climbing
- Small group size (limited to 7 participants) keeps the guide responsive
- Lunch break is on the plan, but food isn’t included, so plan your budget accordingly
Why the West Side + E-Bikes Makes Sense on Madeira
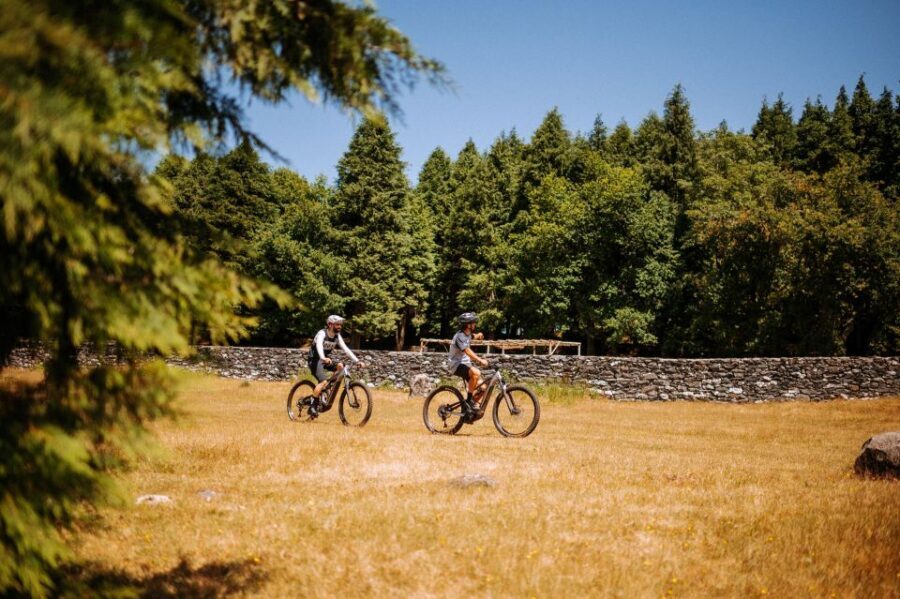
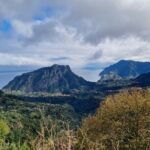
Madeira’s west side has a reputation for big coastline drama, and this tour puts you in the right places. You’ll look out over the North Atlantic while the terrain under you changes from smoother dirt to more trail-like sections. It’s a smart pairing with an E-bike: the assist helps you stay confident during climbs, and then you can enjoy the downhill work without feeling wrecked.
The best part for me is that you get structure without getting trapped. With a guide setting the route, you don’t have to guess which roads connect to the good trail lines. With the E-bike help, you can keep going even if you’re not in peak fitness. And with a small group limited to 7, you’re less likely to feel lost in the shuffle.
There’s also a practical angle to the route design. The ride is described with a listed rise of about 285m and a descent around 1317m. That ratio tells you what you’re signing up for: this is very much a “go down fast, stay smooth” experience.
You can also read our reviews of more cycling tours in Madeira
From the Shop to Fonte do Bispo: the Ride Starts with a Van
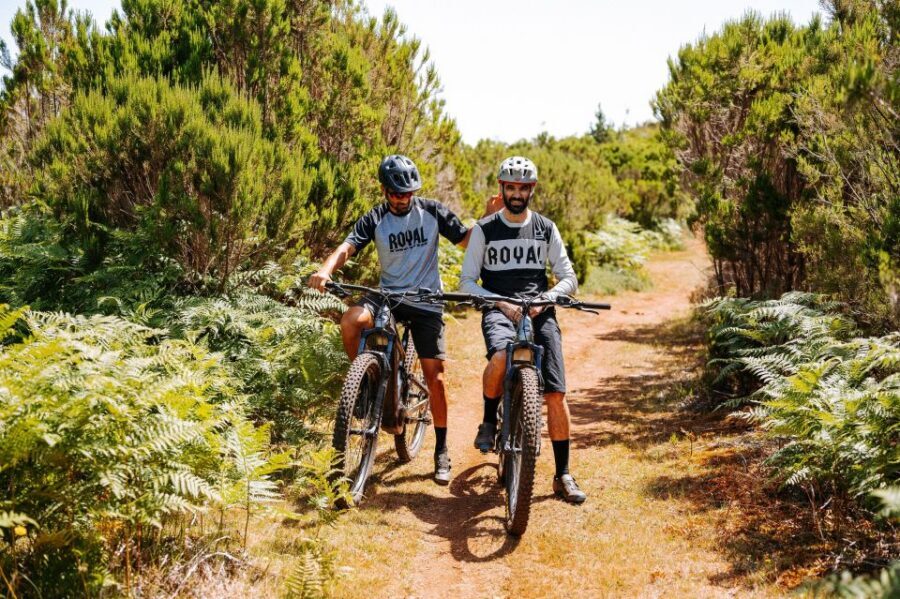
The meeting point is at Estrada Monumental 182, loja 2 in Funchal, with a 9:00 a.m. start. Expect a van transfer first—about 40 minutes—before you begin riding near Fonte do Bispo at roughly 1241m altitude.
This matters more than it sounds. Starting high means the early effort is manageable, and you get views sooner. You also avoid burning energy on long approaches that can turn the day into a slog. If you’re coming off a travel day, that transfer can feel like a gift.
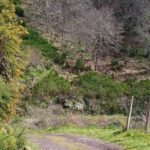
Once you’re in the riding area, you’ll get your first terrain choices. The plan offers the option of dirt/gravel roads or going directly for singletrails during the first part. If you’re new to biking, you’ll probably feel better starting with the smoother line and building confidence. If you already ride trails at home, you can push for the more technical options.
The First Trail Stretch: Views, Trail Choice, and Real Madeira Terrain
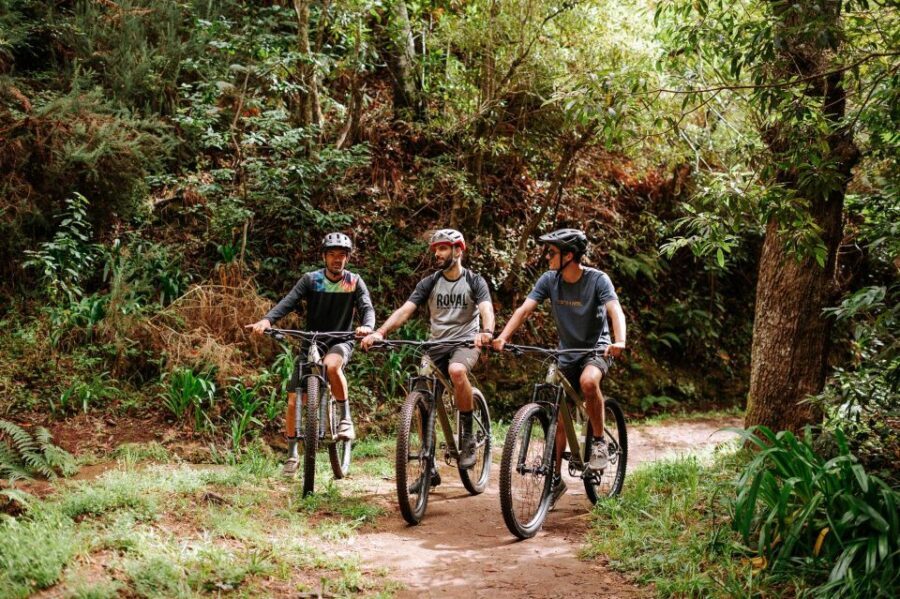
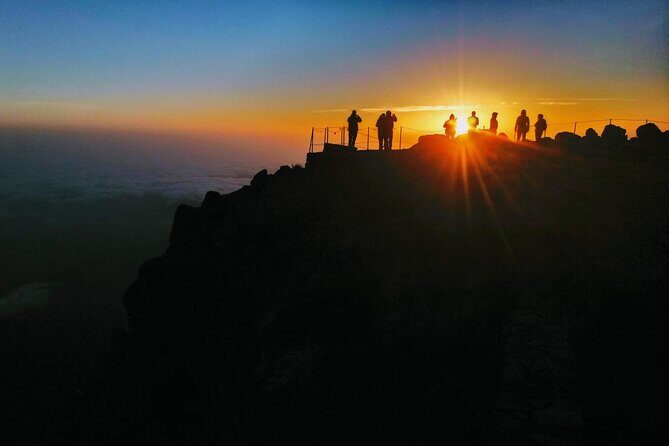
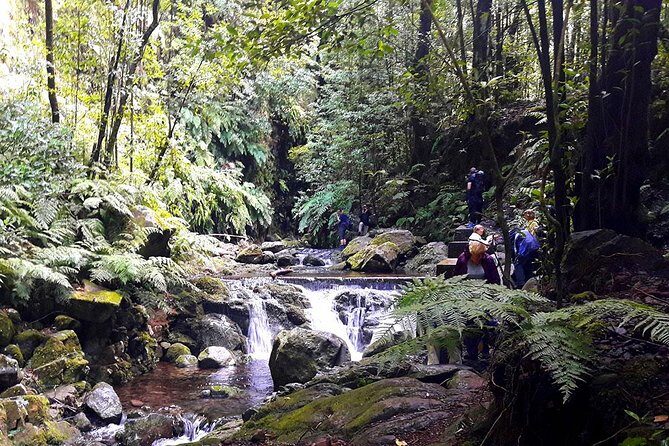
After the initial setup, the ride runs along trails where the west side scenery is the headline. You’ll be high enough to see out across the island’s west slopes and the North Atlantic. Madeira does this well: you get turns that open into overlooks, and then the next section drops you back into a rhythm.
What’s practical here is the “choice architecture” of the route. The tour doesn’t force every rider to take the same exact technical line. Even if you’re eager for singletrack, it can be wise to begin with the dirt/gravel option for a bit. You’ll learn how your brakes feel, how the bike handles on looser ground, and how the guide expects the group to move.
If the weather is changeable (Madeira often is), this first stretch is also where you can feel the difference. Wet dirt can turn “easy” into “grabby but slippery.” This is where gloves become non-negotiable. One rider specifically pointed out the need to bring gloves in case of falls, and I agree—because it’s a long day, and a minor slip can ruin your comfort for hours.
The Run Toward Ponta do Pargo: Big Cliff Country and a Real Landmark
At around 30 km into the ride, you head toward Ponta do Pargo lighthouse. This spot is a highlight for a reason: it’s on the island’s westernmost tip, on a cliff, at about 290 metres altitude. The lighthouse was inaugurated in 1922, which gives the stop a sense of place beyond just scenery.
This is also the moment where the tour’s numbers start making sense. You’ll be covering roughly 30–40 km total, with the day’s biggest payoff being the long descent. That descent is listed around 1317m, and it changes your job from “get stronger” to “stay smooth and in control.”
If you like riding fast (responsibly), this part is where you’ll understand why people do mountain biking on Madeira. The terrain funnels you into flow, and the views reward you between efforts. If you’re more cautious, you’ll still enjoy it, because guided pacing and spacing can keep things manageable.
A small tip: in lighthouse country, wind can be a factor on the cliff. If you feel the chill, plan for it with a light layer you can keep handy. You don’t need winter gear, but a simple add-on can make the breaks more comfortable.
Calheta Break + Lunch: a Reset in the Middle or End
The plan includes a break in Calheta, with a lunch stop about 1 hour. The key detail is that food and drinks at the local restaurant are not included. So think of this as a chance to refuel and reset, not as a free meal ticket.
For riders, the timing is useful. You get a recovery window while the day’s ride still feels like it’s moving. That matters because on a long off-road day, fatigue shows up in your grip, your attention, and your braking. A real pause helps you come back sharper.
If you’re watching costs, budget for lunch here. If you’re traveling lighter, you might want to bring a water bottle you can access during the ride, too—but the exact drink plan isn’t stated. At minimum, treat hydration as your responsibility and plan to top up during the stop.
You can also read our reviews of more guided tours in Madeira

Your Role on the Bike: Difficulty, Rain, and Comfort
This tour is designed for both beginners and experienced cyclists, but the terrain is still mountain biking. The best way to read that is to think: you’ll be riding off-road for hours, and the E-bike helps, but it doesn’t erase physics.
One real consideration showed up in a beginner-focused experience: when it rained, the track felt more like Level 3 instead of Level 1. That’s a good reminder that “level” can be situational. Wet conditions often change traction, and even a well-planned route becomes more work.
Here’s how I’d handle that if you’re a beginner:
- Tell the guide at the start that you’re comfortable on a bike but new to trail riding.
- Ask how they’ll adjust pacing and trail choice if it’s slippery.
- Keep your expectations flexible. If conditions worsen, you may get a tougher ride than you planned.
Also, don’t wait for the first challenge to learn your braking and body position. The E-bike support encourages you to try harder. It’s smart, but stay methodical: slow down before turns, squeeze brakes smoothly, and don’t lock up when the ground gets loose.
And yes: bring gloves. The guide provides helmets, but gloves are listed as not included. That same caution from a rider about preparing for falls is worth taking seriously. You’ll feel it if your hands get scraped or if you need grip in damp spots.
Included Gear and What You Still Need to Bring
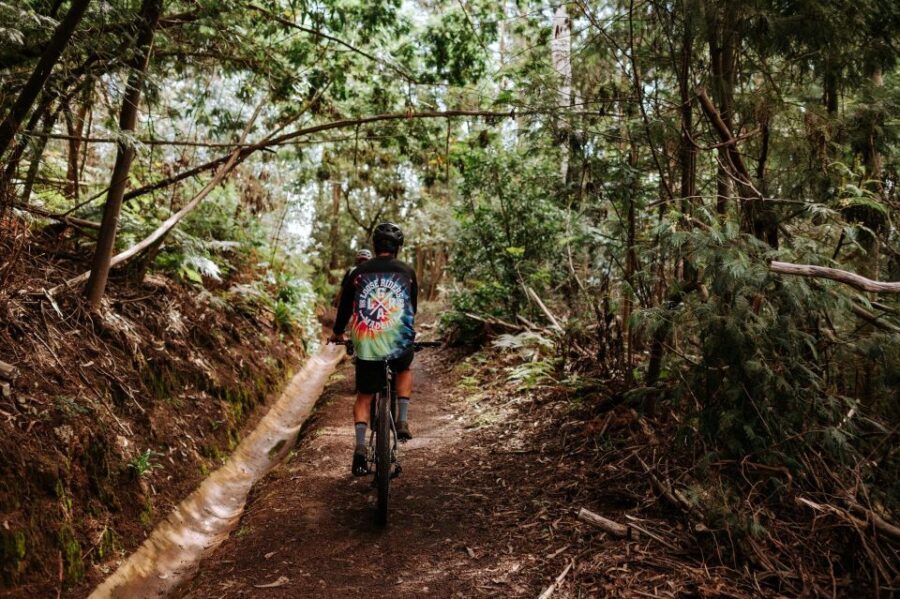
The tour includes a lot of the “don’t worry about it” items:
- Bike and helmet
- Guide plus driver
- Shuttle and transfers
- Personal accident insurance
That’s strong value because it removes a big chunk of rental hassle and planning. You can show up and ride.
What’s not included:
- Cycling clothes
- Gloves
- Cycling shoes
- Food and drinks
So for a smooth day, I’d treat gloves and shoes as high priority. You can ride without specialized cycling shoes if you have decent footwear, but trail control improves with the right grip and pedal compatibility. If your shoes slip, your confidence drops fast on off-road terrain.
Clothing is more flexible, but plan for sun and wind. A light layer you can remove helps a lot when you’re climbing and then cooling off in the descent.
Pace, Group Size, and Guide Support in a Small Setting
This is a small group limited to 7 participants, which is great if you want coaching. Smaller groups mean fewer gaps, and the guide can actually monitor how you’re doing instead of just moving the line forward.
The tour also runs multilingual guides: Portuguese, English, Spanish, and German. That matters on an off-road bike day. You want quick communication when the route gets technical or if trail choice changes.
In general, the “guided” part is what makes this feel like a tour instead of a workout. You get route planning, safety awareness, and trail guidance. But since difficulty can change with weather, you should proactively ask questions early. If you need extra instruction, speak up right away rather than waiting until the terrain forces the issue.
Price and Value: What $159 Buys You Here
At $159 per person for about 5 hours, the price sits in a reasonable mid-range for a guided E-bike mountain experience on an island destination. The value is not just the bike rental. You’re paying for:
- Guided route choice and pacing
- Transfers/shuttle from Funchal area to the riding start
- Helmet and bike included
- Personal accident insurance
Also, this tour gives you a lot of off-road time. With roughly 30–40 km total and 80% off-road, it’s not just a scenic spin. You’re getting real riding mileage, plus a landmark payoff at Ponta do Pargo.
The biggest “value limiter” is lunch because food and drinks aren’t included. That’s normal for tours, but it affects your all-in cost. If you budget for the meal, the $159 feels like it covers the adventure piece cleanly.
Who Should Book This Ride (and Who Should Skip It)
This is a good fit if:
- You want a guided way to ride Madeira’s west trails without guessing routes
- You’re comfortable on a bike but want E-bike help for hills
- You want the balance of views plus trail variety
- You like the idea of a long downhill-oriented day (with a listed big descent)
It’s also a reasonable option for different skill levels because the tour offers trail choices in the first stretch.
Skip it if:
- You have back problems or heart problems
- You can’t ride a bike
- You’ve had recent surgeries
- You use a wheelchair
That’s not about judgment. It’s about the demands of an off-road mountain bike day. Even with an E-bike, you still have uneven ground, control needs, and sustained riding.
Should You Book E-Bike Guided Tour: West Side Mountain Biking?
If your goal is authentic Madeira riding—real trails, real views, and a proper western landmark—this tour is an easy yes. The small group size, provided bike and helmet, and the heavy off-road time make it feel like more than a basic sightseeing loop.
Book it if you’re ready to ride at least part of the day on dirt, and you want the guide to handle the route. If you’re a beginner, still book it, but go in smart: wear proper gloves, tell the guide you’re new, and expect weather to change the ride feel. The lighthouse stop and the long descent are the kind of payoff that makes a guided day worth it.
If you want guaranteed “easy only” conditions in rain, that’s where you should be cautious. This tour can shift with conditions, and your best strategy is to communicate your comfort level before the first real descent.
FAQ
What’s the duration of the West Side Mountain Biking e-bike tour?
The activity lasts about 5 hours.
Where do I meet, and what time does the tour start?
Meet at the shop at Estrada Monumental 182 loja 2 in Funchal at 9:00 a.m.
How far and how off-road is the route?
The ride is listed at roughly 30–40 km, with about 80% off-road and 20% on-road. The rise is around 285m and the descent around 1317m.
Is lunch included?
There’s a lunch break in Calheta during the tour, but food and drinks at the restaurant are not included.
What’s included in the price?
The price includes the bike, helmet, guide, driver, shuttle and transfers, and personal accident insurance.
How many people are in the group, and what languages are offered?
It’s a small group limited to 7 participants. The guide can speak Portuguese, English, Spanish, and German.